
You can now get your screenshots uploaded directly to your cloud storage through Apps, including your own FTP server.
To start getting your captures uploaded to your FTP server, follow these steps:
- Configure your FTP server
- Configure your App
- Use the App
Configure your FTP server
Make sure your FTP server can be accessed from the Internet. We recommend that you create a separate user for Blitapp. This user must be permitted to create folders and files and navigate in the folders created.
Create an App
In the left menu, there is a new entry for Apps. There, you will see all the Apps that you create. Click on Add an App.
Enter the username and password used by Blit to authenticate to the server. Add the FTP port number.
You can enter the custom folder and file names that will be used for each image. We support several variables to create dynamic paths. See our previous post for more details.
Before you save the App, click on Verify to make sure it is configured correctly. Blit will attempt to upload the file blit.png to the folder you specified. If an error occurs, we will display the error message we received.
Use the App
Your App will now show in the list of Apps. When you edit an existing capture or schedule a new capture, there is a new field for Apps. Click in the box to see the list of Apps available, or start typing its name to filter the list.
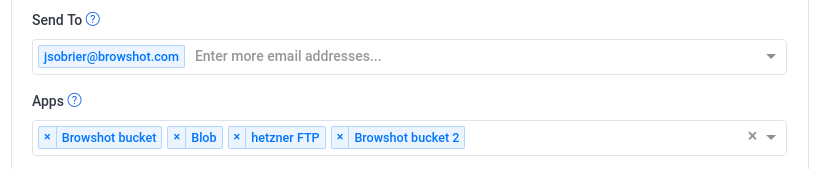
That’s it! Now your captures will be saved to your FTP server automatically. If there is any issue during the upload, we will send you an e-mail.
If you want to use different folders of files, you can create multiple Apps with the same FTP server.