With the automation steps, you can now log in to a website and take multiple screenshots of different pages. The automation steps can handle complex login over numerous pages.
In this post, we’ll show you how to log in to a website, Browshot, and take a screenshot after authentication.
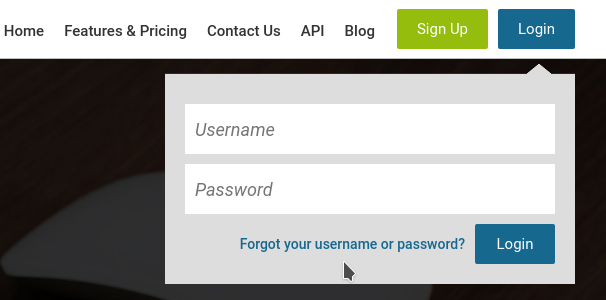
To log in from the home page of https://browshot.com/, a user must click on Login. This displays a login form where the user has to enter his username and password. Then the user clicks on “Login” to access his dashboard.
Find the element to interact with
We'll build the different steps to log in; then, we'll navigate to a separate page in the dashboard and take screenshots. The hardest part of the process is to get the identifier (called CSS selector) for each element we want to interact with: the button to click on, the input box in which to enter our username, etc. We need to use the Developer Tools from your web browser to find this identifier. Press F12 to open the Developer Tools. Navigate to https://browshot.com/. In the Developer Tools, click on the mouse cursor in the top left corner (highlighted in red below).
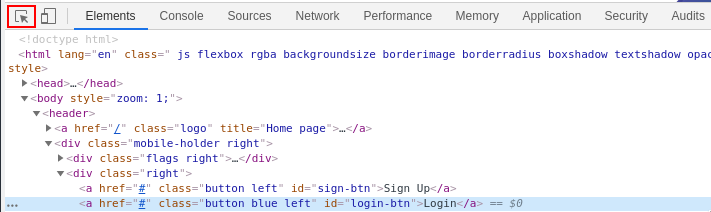
Then, move your mouse over the Login button at https://browshot.com/. The HTML code corresponding to the button is now highlighted in the Developers Tools. Right-click on it and choose Copy > Copy selector:
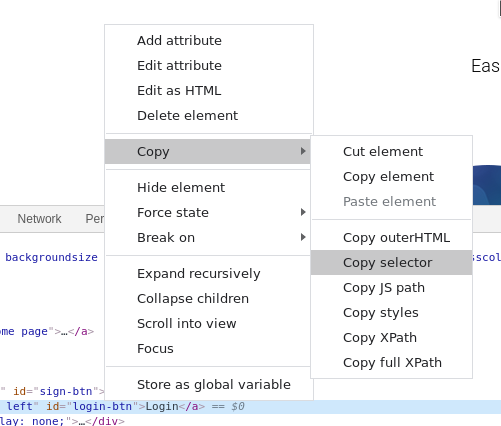
If you paste the value in a text editor, you get the following:
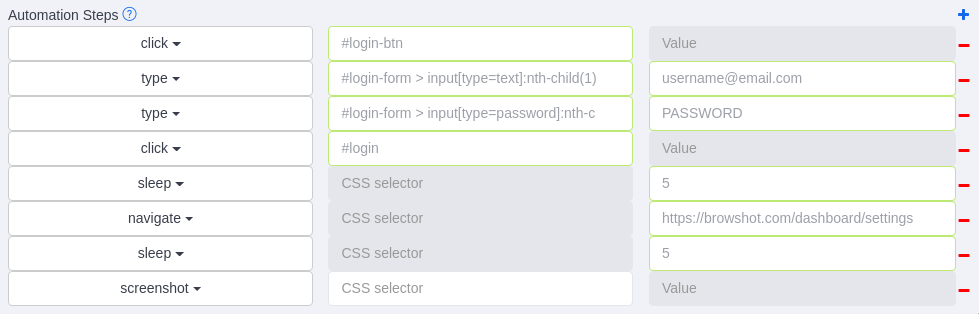
#login-btnThis is the CSS selector that identifies the Login button. We’re ready to take the first step by clicking on the Login button:

The following steps are to enter the username and password in the login form. In your browser, manually click on the Login button to show the form. In the same way, use the Developer Tools to copy the CSS selector for the username and password input fields:
#login-form > input[type=text]:nth-child(1)
#login-form > input[type=password]:nth-child(2)
We use the “type” command to type the username and passwords in their respective input fields:

Then, we click on the Login button at the bottom of the form:

This last step authenticates the user and loads https://browshot.com/dashboard. We can take a screenshot of the dashboard or any other page. After login in, we wait a couple of seconds for the login to work, then navigate to https://browshot.com/dashboard/settings:

Finally, we wait a few seconds to allow the page to load. Then we take a screenshot of it:
You can add more steps to navigate to multiple pages and take multiple screenshots, click on elements in the pages, etc. We will post more examples on this blog.
Creating this kind of automation can be difficult at first. We are here to help. Don’t hesitate to contact us if you need assistance.
Update: We made it easier to capture multiple pages after login with the initial automation steps .